2023. 2. 25. 23:20ㆍ개발 일지/패스트캠퍼스\챌린지
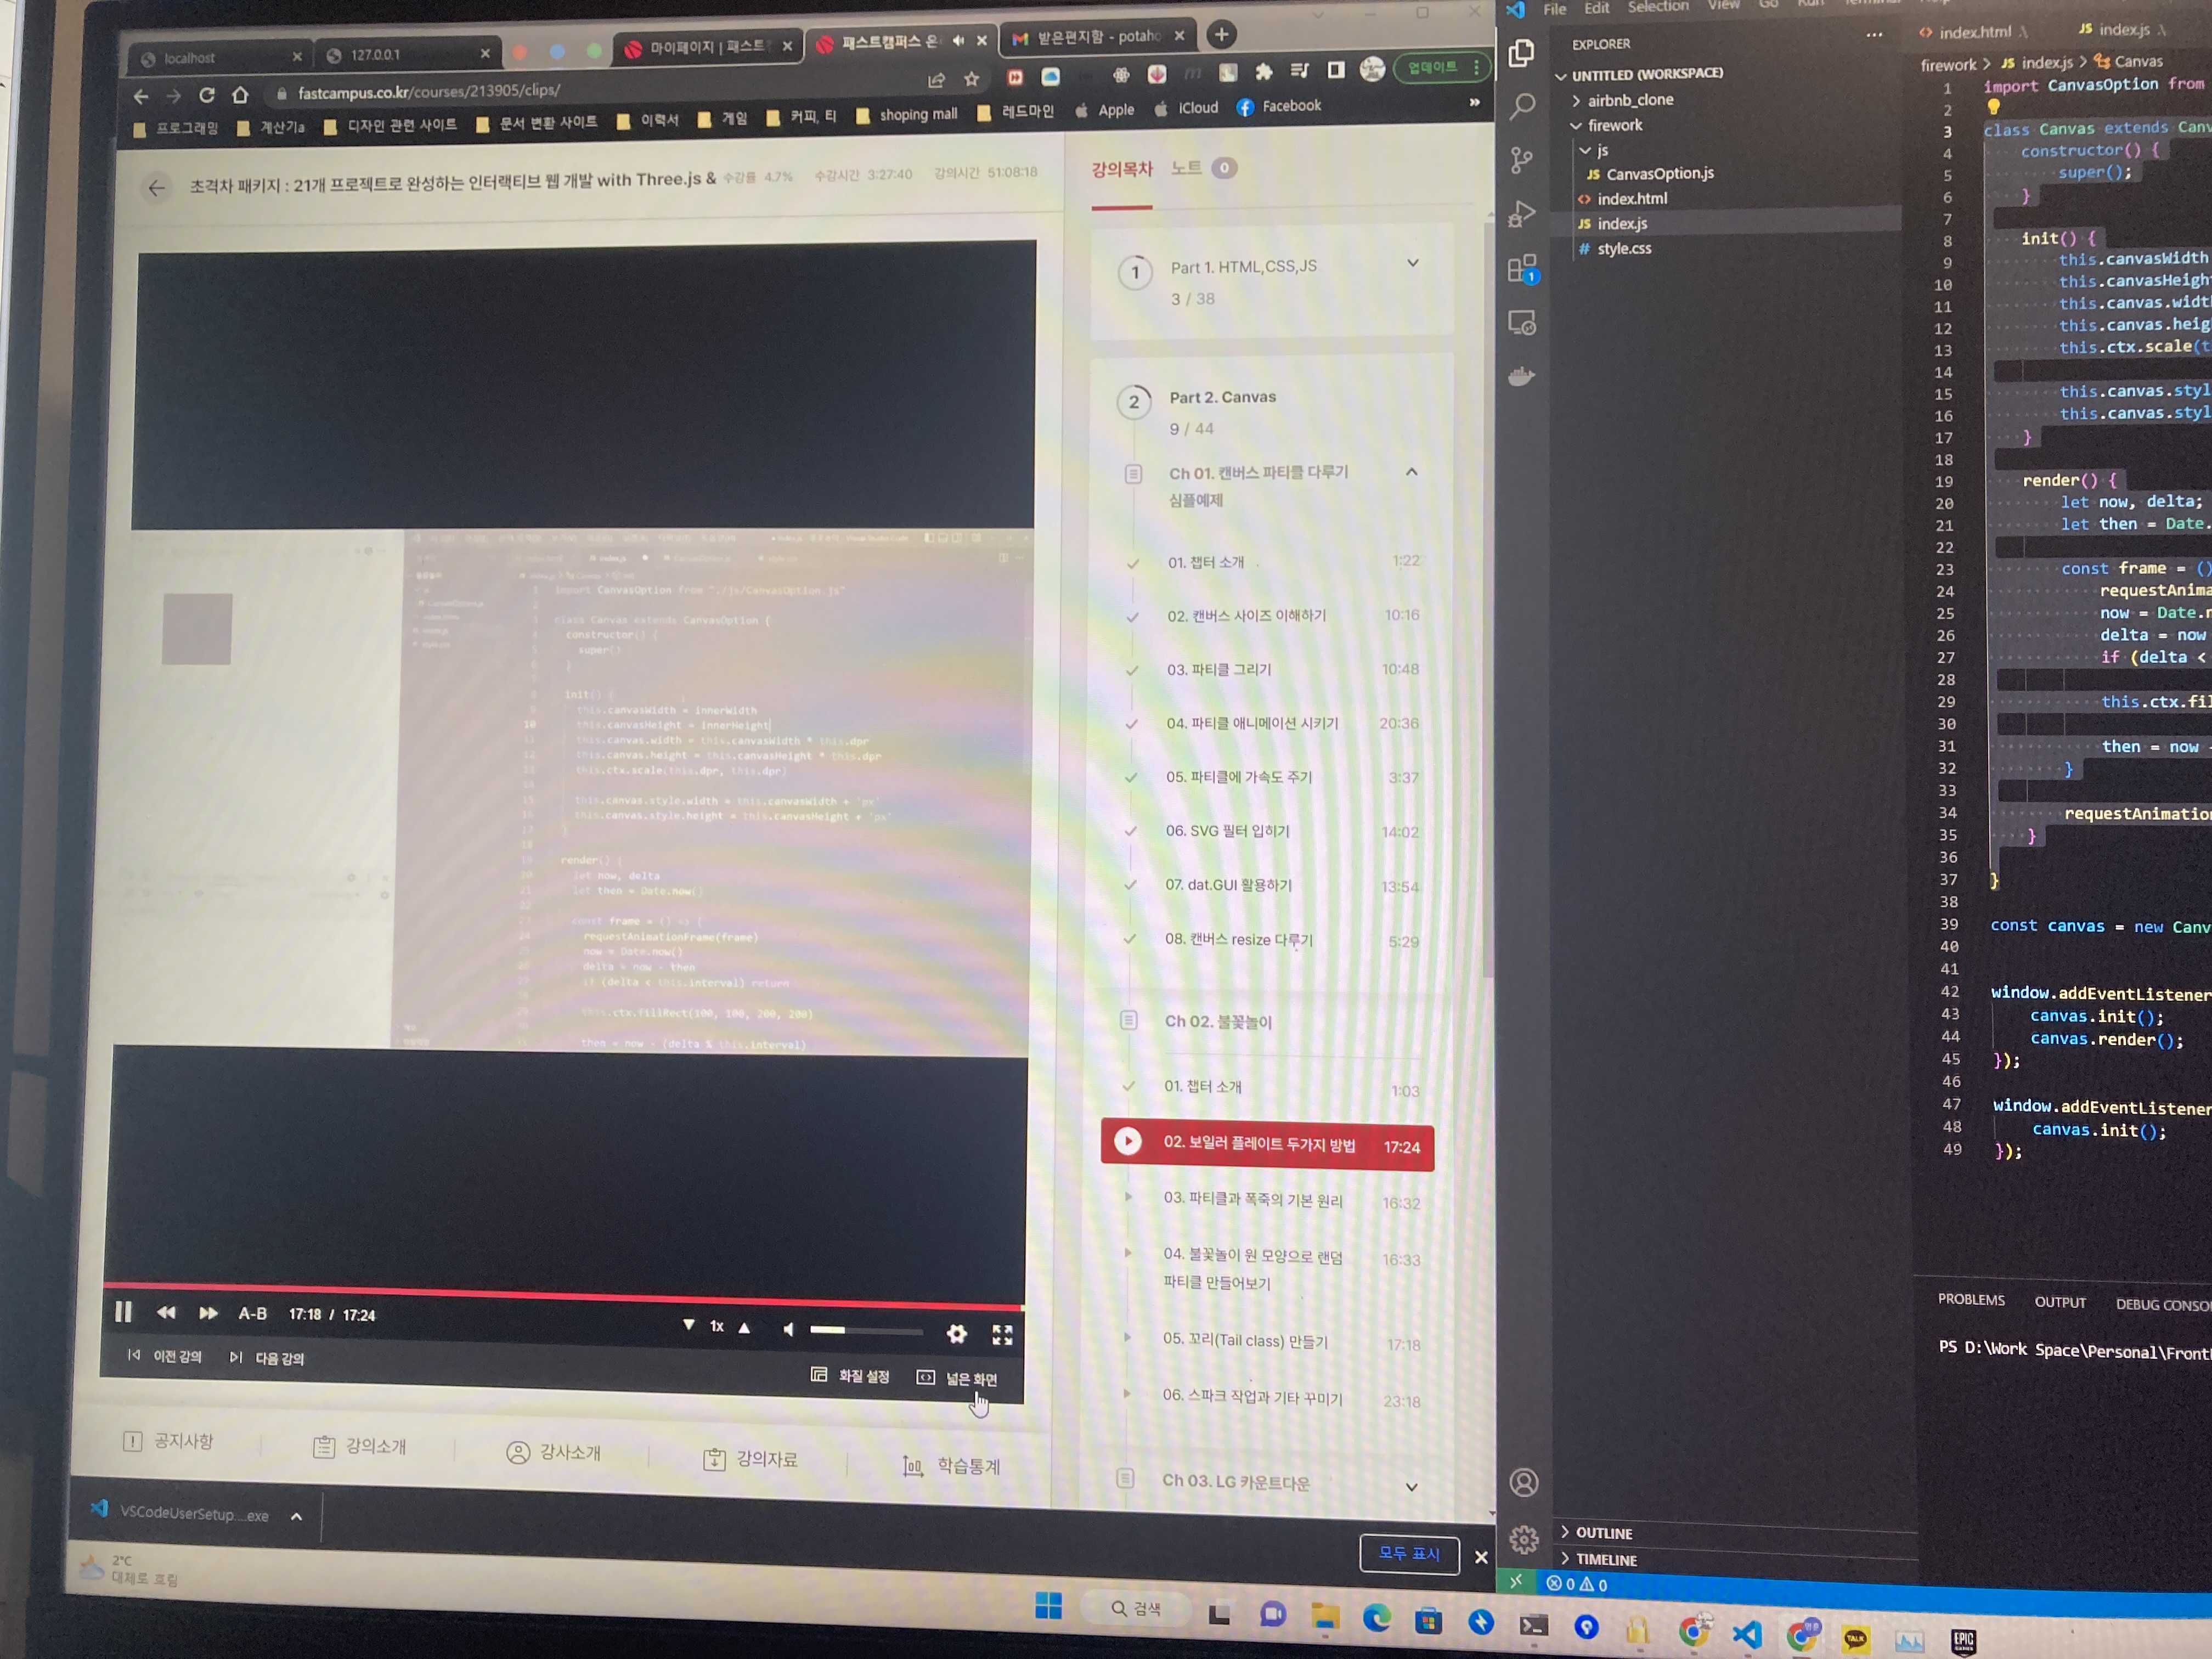
Part2. Canvas 챕터 02 - 1. 불꽃놀이 챕터, 02 - 2. 보일러 플레이트 두가지 방법 강의 시작!


오늘 강의에서는 앞으로 진행할 강의의 뼈대를 만들고 그 기초 뼈대를 보일러플레이트 코드로 사용하는 작업을 알아보기로 한다.
보일러플레이트 코드란?
보일러플레이트는 1890년대에 광고나 컬럼과 같이 계속 사용되는 텍스트 인쇄판을 강철로 찍기 시작했는데, 이를 Boilerplate라고 불렀다고 한다. 여기에 착안하여 컴퓨터 프로그래밍에서 최소한의 변경으로 여러곳에서 재사용되며, 반복적으로 비슷한 형태를 띄는 코드를 뜻한다고 한다.
우선 새로운 폴터를 만들고 그 안에 index.html 파일을 생성하고 visual studio code 의 자동완성 기능을 활용하여 html5 문서를 자동으로 생성하고 body태그 안에 canvas 태그와 그 아래에 script 태그를 넣어준다. 그리고 script 태그의 type 속성을 module 로 설정해주고 src의 값을 'index.js'로 설정해준다.
index.js를 모듈화 하여 안에서 분리한 자바스크립트들을 서로 export하고 import를 할 수 있게 된다.
그 후 index.js를 생성하고 index.html을 오른쪽 클릭하여 open with liveserver를 실행하여 웹을 실행한다.
그리고 index.js 에서 기본 뼈대 작업을 liveserver에서 실시간으로 보면서 진행한다.
이전 강의에서 canvas를 생성하고 초기화 했던 것처럼 초기화 해주고 canvas에 사각형을 그리도록 작성을 한다.
아래는 코드의 모습이다.
const canvas = document.querySelector('canvas');
const ctx = canvas.getContext('2d');
const dpr = devicePixelRatio;
const fps = 60;
const interval = 1000 / fps;
let now, delta;
let then = Date.now();

let canvasWidth, canvasHeight;

function init() {
	canvasWidth = innerWidth;
    canvasHeight = innerHeight;

    canvas.width = canvasWidth * dpr;
    canvas.height = canvasHeight * dpr;
    stx.scale(dpr, dpr);

    canvas.style.width = canvasWidth + 'px';
    canvas.style.height = canvasHeight + 'px';
}

function render() {
	requestAnimationFrame(render);
    now = Date.now();
    delta = now - then;
    if(delta < interval) return;

    ctx.fillRect(100, 100, 200, 200);

    then = now - (delta % interval);
}

window.addEventListener('load', () => {
	init();
    render();
});

window.addEventListener('resize', () => {
	init();
});
이렇게 기본적인 뼈대를 완성했지만 보일러플레이트 코드로 활용하기 위해서는 캔버스 클래스를 따로 만들어서 분리하여 재활용할 수 있도록 작업을 한다.
먼저 초기화 부분을 클래스로 따로 만들고 'js/CanvasOption.js'로 옮겨 주고 export default로 설정해주는 작업을 진행해본다. 기존 index.js에 있던 초기화 코드들은 삭제하고 CanvasOption 클래스에서는 변수들 앞에 this를 붙여주는 작업을 한다.
export default class CanvasOption {
    constructor() {
        this.canvas = document.querySelector('canvas');
        this.ctx = this.canvas.getContext('2d');
        this.dpr = devicePixelRatio;
        this.fps = 60;
        this.interval = 1000/ this.fps;
        this.canvasWidth = innerWidth;
        this.canvasHeight = innerHeight;
    }
}
그리고 index.js 파일에 Canvas 클래스를 CanvasOpti
on 클래스를 상속받아 활용하도록 수정한다.
import CanvasOption from "./js/CanvasOption.js";

class Canvas extends CanvasOption {
    constructor() {
        super();
    }

    init() {
        this.canvasWidth = innerWidth;
        this.canvasHeight = innerHeight;
        this.canvas.width = this.canvasWidth * this.dpr;
        this.canvas.height = this.canvasHeight * this.dpr;
        this.ctx.scale(this.dpr, this.dpr);

        this.canvas.style.width = this.canvasWidth + 'px';
        this.canvas.style.height = this.canvasHeight + 'px';
    }

    render() {
        let now, delta;
        let then = Date.now();

        const frame = () => {
            requestAnimationFrame(frame);
            now = Date.now();
            delta = now - then;
            if (delta < this.interval) return;

            this.ctx.fillRect(100, 100, 200, 200);

            then = now - (delta % this.interval);
        }

        requestAnimationFrame(frame);
    }

}

const canvas = new Canvas();

window.addEventListener('load', () => {
    canvas.init();
    canvas.render();
});

window.addEventListener('resize', () => {
    canvas.init();
});
이렇게 해서 재사용이 가능한 보일러플레이트 코드를 만들어 봤다.
오늘 강의에서 만든 코드는 앞으로 강의에서도 많이 재활용을 한다고 하니 보일러플레이트 코드를 만드는 작업을 많이 해보면 도움이 될 것 같다.


패스트캠퍼스 [직장인 실무교육]
프로그래밍, 영상편집, UX/UI, 마케팅, 데이터 분석, 엑셀강의, The RED, 국비지원, 기업교육, 서비스 제공.
fastcampus.co.kr
본 포스팅은 패스트캠퍼스 환급 챌린지 참여를 위해 작성되었습니다.
'개발 일지 > 패스트캠퍼스\챌린지' 카테고리의 다른 글
| [패스트캠퍼스] 8일차 2. 27 (0) | 2023.02.27 |
|---|---|
| [패스트캠퍼스] 챌린지 7일차 2. 26 (0) | 2023.02.26 |
| [패스트캠퍼스] 챌린지 5일차 2.24 (0) | 2023.02.24 |
| [패스트캠퍼스] 챌린지 4일차 2.23 (0) | 2023.02.23 |
| [패스트캠퍼스] 챌린지 3일차 2.22 (1) | 2023.02.22 |