2023. 2. 23. 22:00ㆍ개발 일지/패스트캠퍼스\챌린지
Part2. Canvas 챕터 01 - 7. dat.GUI 활용하기강의 시작!

지난 시간에는 SVG필터를 사용하여 시각적으로 다양하게 사용할 수 있는 방법을 알아봤다.
이번 시간에는 값을 직접 입력해서 효과의 변화를 확인하던 불편함을 dat.GUI를 활용하여 실시간으로 확인할 수 있는 방법을 알아본다.
dat.GUI를 활용하기 위해서 CDN에서 라이브러리를 가져와야한다. google에서 dat-GUI cdn으로 검색하면 검색 최상단에 있는 링크로 들어가면 dat-gui cdn 패이지가 열린다. 이 패이지에서 최신 버전을 확인하고 최신버전의 min 형태의 라이브러리를 copy script tag버튼을 눌러 복사한다. 그리고 index.html의 head 태그 안에 붙여 넣는다.
이렇게 하면 dat.gui를 사용할 수 있게된다.
이제 index.js에서 dat.gui를 사용할 수 있다.
우선 index.html에 dat.gui 라이브러리를 추가한 코드이다.
...
<head>
    <meta charset="UTF-8">
    <meta http-equiv="X-UA-Compatible" content="IE=edge">
    <meta name="viewport" content="width=device-width, initial-scale=1.0">
    <script src="https://cdnjs.cloudflare.com/ajax/libs/dat-gui/0.7.9/dat.gui.min.js" integrity="sha512-WoO4Ih0CDOSLYafy22wZD/mcJ7k0ESLqtQsFa6zFKnEUrbtuGU+GkLtVhgt93xa2qewG5gKEC6CWlN8OaCTSVg==" crossorigin="anonymous" referrerpolicy="no-referrer"></script>
    <title>Document</title>
    <style>
        html, body{
            margin: 0;
            width: 100%;
            height: 100%;
            overflow: hidden;
        }
        canvas{
            filter: url('#gooey')
            /* filter: blur(50px) contrast(50);
            background-color: black; */
        }
    </style>
</head>
...
index.html에 추가한 후, index.js에서 dat.gui를 사용하면 된다.
...
const feGaussianBlur = document.querySelector('feGaussianBlur');
const feColorMatrix = document.querySelector('feColorMatrix');
const controls = new function() {
this.blurValue = 40;
this.alphaChannel = 100;
this.alphaOffset = -23;
}
let gui = new dat.GUI();
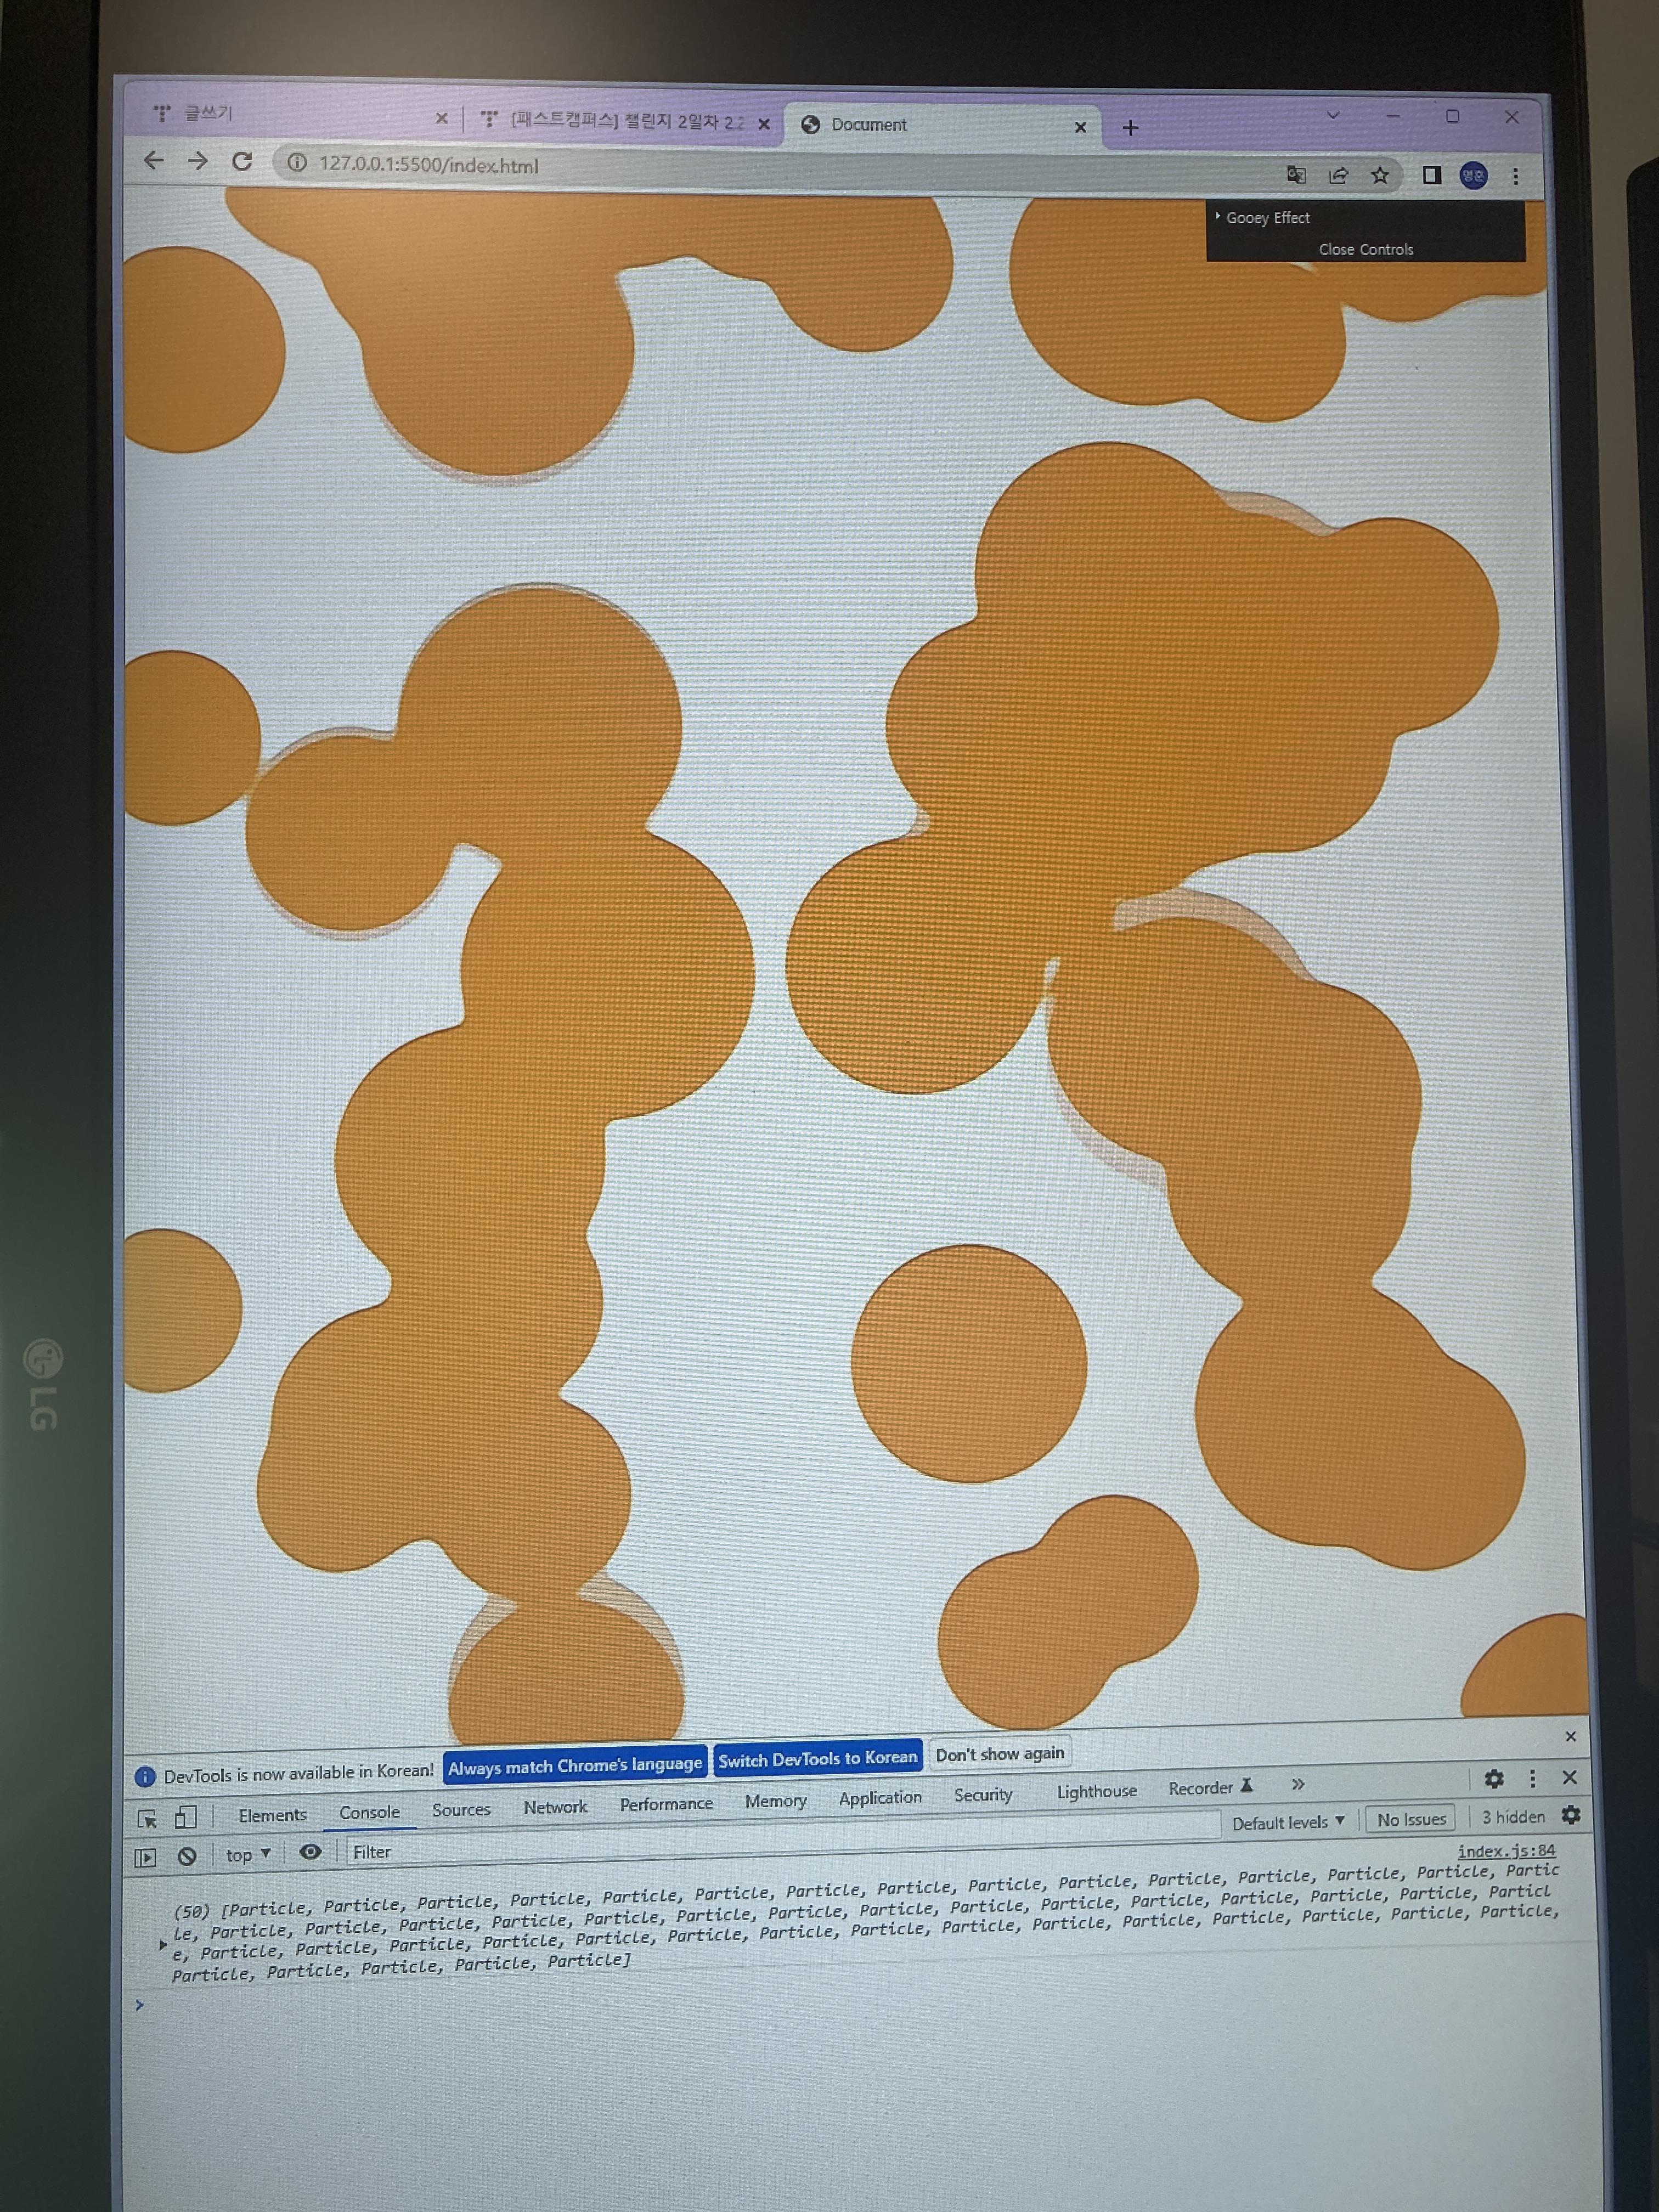
const f1 = gui.addFolder('Gooey Effect');
f1.add(controls, 'blurValue', 0, 100).onChange(value => {
feGaussianBlur.setAttribute('stdDeviation', value);
});
f1.add(controls, 'alphaChannel', 1, 200).onChange(value => {
feColorMatrix.setAttribute('values', `1 0 0 0 0 0 1 0 0 0 0 0 1 0 0 0 0 0 ${value} ${controls.alphaOffset}`);
});
f1.add(controls, 'alphaOffset', -40, 40).onChange(value => {
feColorMatrix.setAttribute('values', `1 0 0 0 0 0 1 0 0 0 0 0 1 0 0 0 0 0 ${controls.alphaChannel} ${value}`);
});
...alphaChennel과 alphaOffset의 값은 string으로 같은 속성의 값을 수정하기때문에 두개의 값을 동시에 변경하려면 기존의 값을 유지시켜줘야 한다. 그렇지 않으면 초기값으로 돌아가기때문에 변화할때 controls에 있는 기존의 값을 넣어주면 초기 값으로 돌리지 않고도 변화를 확인할 수 있다. 또한 addFolder를 사용해서 컨트롤바를 폴더링 해줄 수 있다.
이렇게 dat.GUI를 활용하면 실시간으로 요소들의 값을 변경해서 실제 적용되는 효과를 확인할 수 있다.

패스트캠퍼스 [직장인 실무교육]
프로그래밍, 영상편집, UX/UI, 마케팅, 데이터 분석, 엑셀강의, The RED, 국비지원, 기업교육, 서비스 제공.
fastcampus.co.kr
본 포스팅은 패스트캠퍼스 환급 챌린지 참여를 위해 작성되었습니다.
'개발 일지 > 패스트캠퍼스\챌린지' 카테고리의 다른 글
| [패스트캠퍼스] 챌린지 6일차 2.25 (0) | 2023.02.25 |
|---|---|
| [패스트캠퍼스] 챌린지 5일차 2.24 (0) | 2023.02.24 |
| [패스트캠퍼스] 챌린지 3일차 2.22 (1) | 2023.02.22 |
| [패스트캠퍼스] 챌린지 2일차 2.21 (0) | 2023.02.22 |
| [패스트캠퍼스] 챌린지 1일차 2.20 (0) | 2023.02.20 |